Calibration of Piston-operated Volumetric Instruments and How Microlit Undertakes it
- September 15, 2020
- ENQUIRE NOW
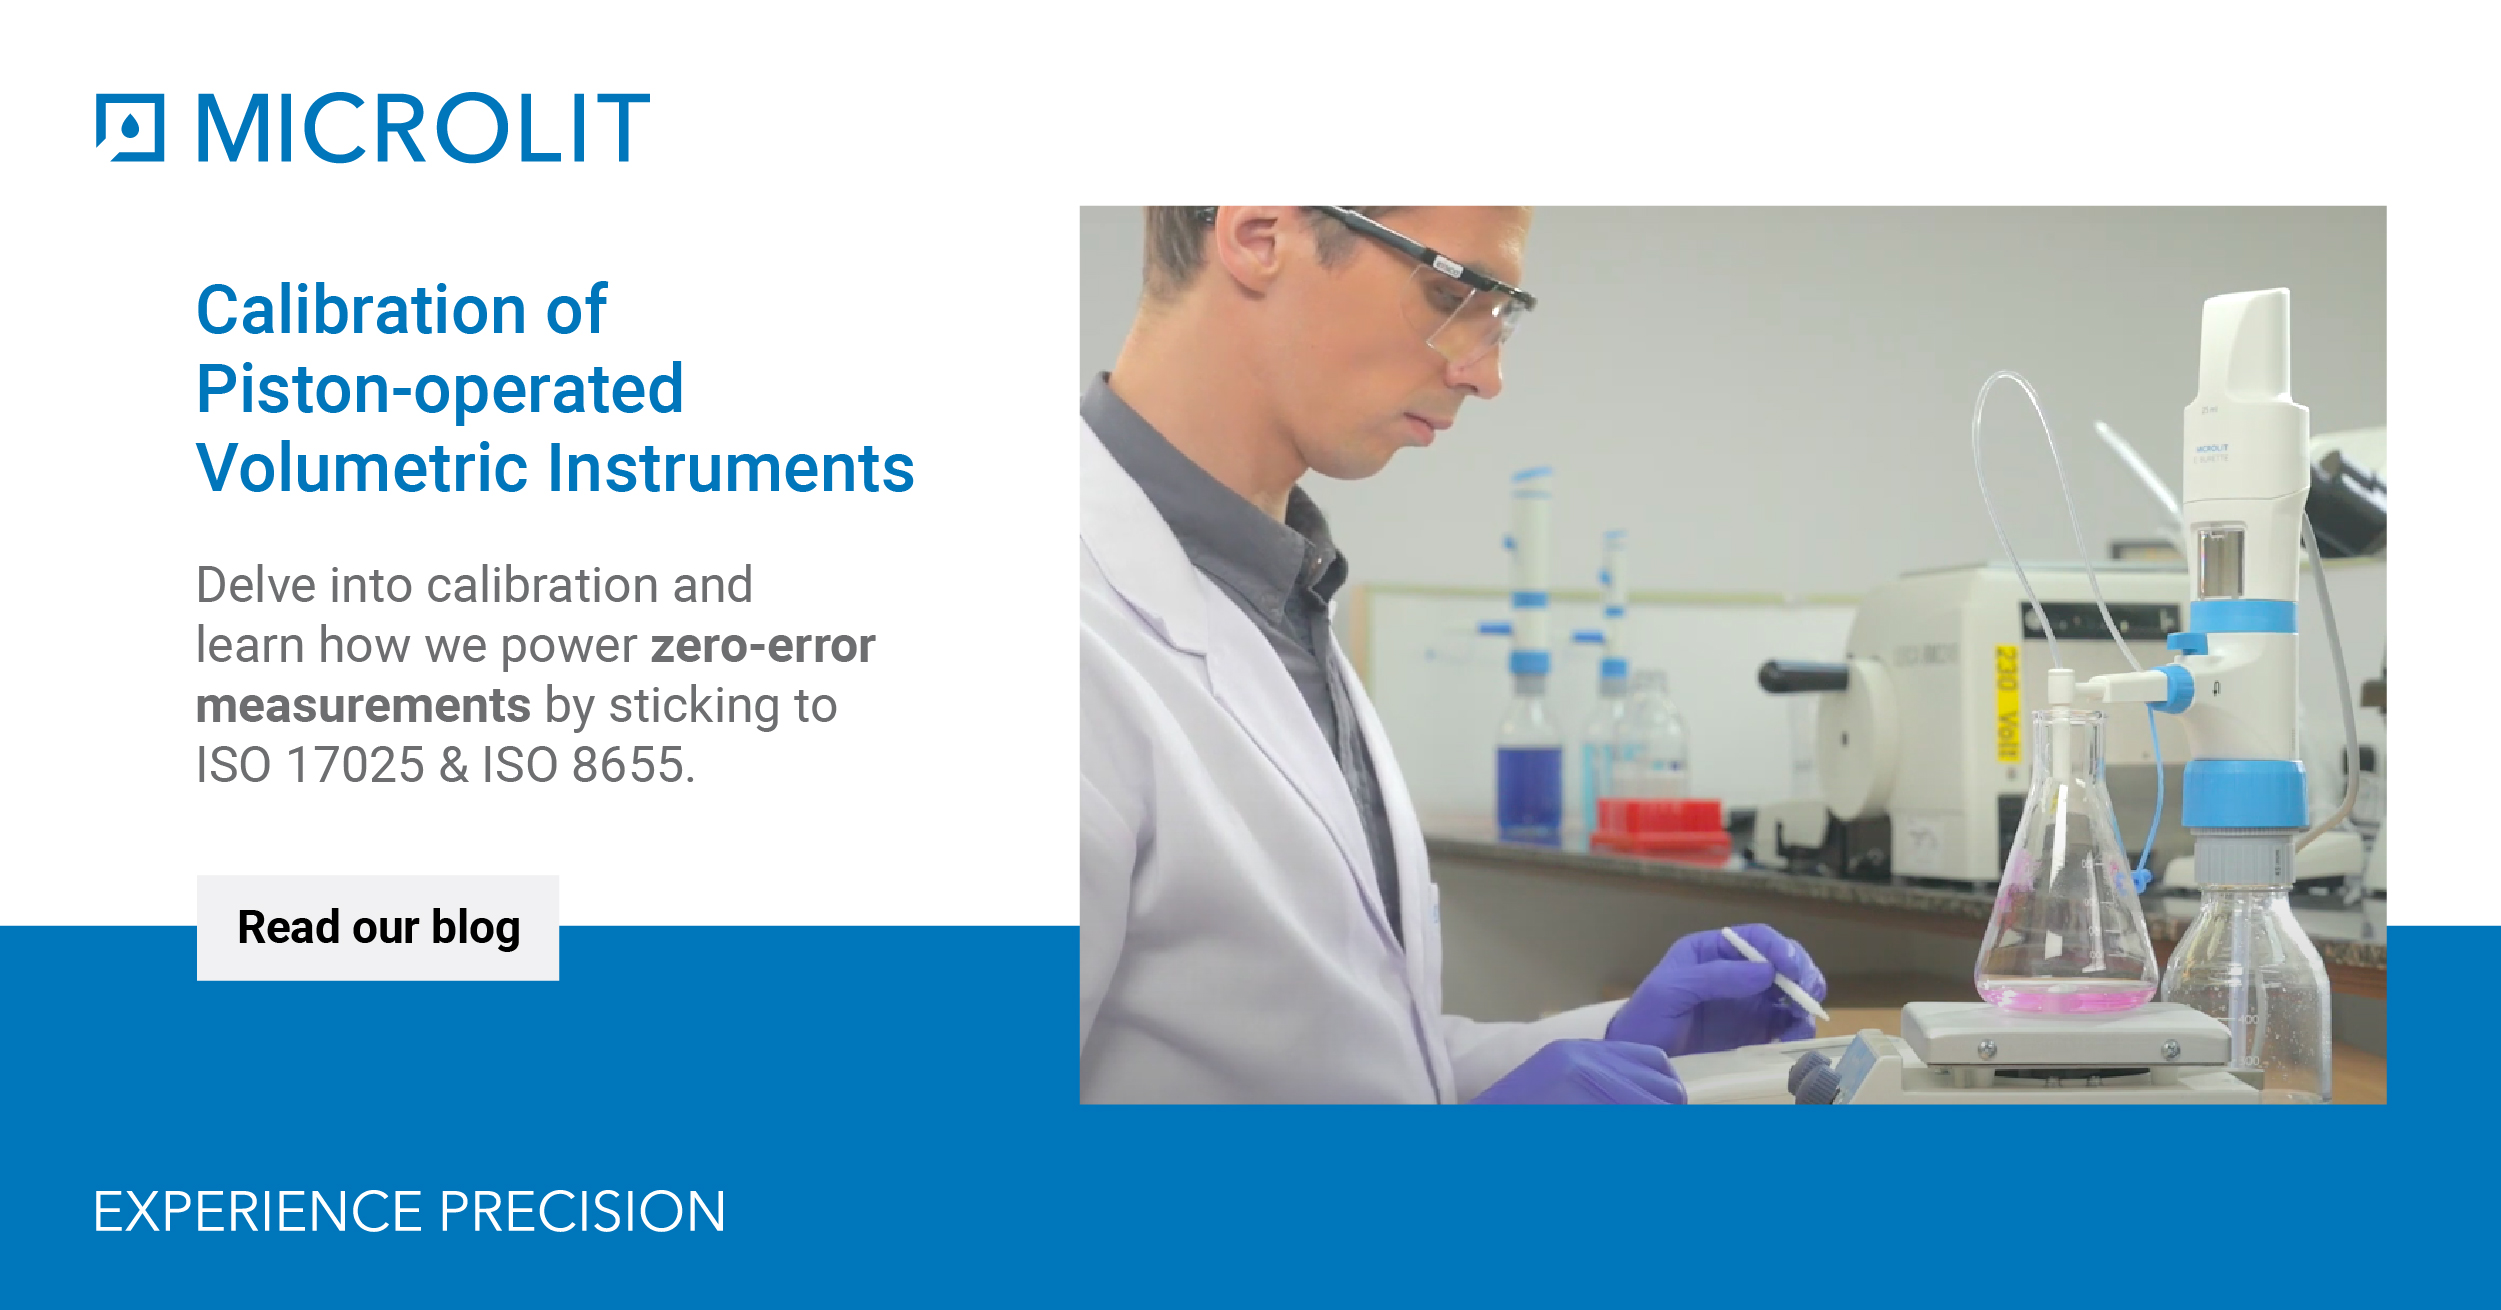
Calibration is the process of comparing a device under test (DUT) with a calibration standard of known value. This standard could be a measurement device of a known value, a device that produces the quantity that needs to be measured or simply a physical measuring object. Calibration is typically performed to identify the error or verify the accuracy of the DUT. To gauge its significance, pause for a moment and look around – most of what you see was manufactured within the stringent measurement specifications of calibration.
The requirements necessary to conduct accurate and reliable calibrations of piston-operated volumetric instruments like pipettes, bottle top dispensers, burettes and diluters are listed in the ISO 8655 standard.
While the ISO 8655-2 standard details various methods, test conditions, test equipment and the prerequisites for reporting the required measurements and uncertainty values for pipettes, the ISO 8655-3 standard details the same for burettes and the ISO 8655-5 standard details the same for dispensers.
The Calibration Process
The calibration process of piston-operated volumetric instruments can be broadly outlined in three steps:
- Setting up the apparatus – This includes measuring the temperature of the distilled water to be used, checking the humidity, atmospheric pressure and temperature of the room in which the calibration process has to be performed, setting the analytical balance to zero after placing the measuring cup on it, pre-wetting the tip (in case of pipettes), running the instrument with distilled water for at least 3 times (in case of dispensers & burettes) and ensuring that the smallest water drop has been expelled out of the instrument.
- Recording the measurement values – Take up to nine readings, one each at nominal value, mid-value and lowest value (in case of a variable volume range instrument). In case of a fixed volume instrument, take ten readings at the same volume.
- Calculating the accuracy –
3.1 The formula for calculating the volume of water dispensed by the instrument is V = w * Z where w is the weight of the water and Z is the conversion factor based on the density of water. The value of the Z variable can be found by looking up the density of water using the temperature recorded at the beginning of the experiment.
For example, if the temperature of the water is 23°C, then Z = 1.0035 µg/mg.
3.2 The equation to calculate the accuracy of the instrument is A = 100 x Vavg/V0, where Vavg is the average calculated volume and V0 is the value set on the instrument to dispense the water. If the instrument is properly calibrated, the calculated value would be very close to the actual value set on the instrument.
Accuracy and CV tables for Microlit pipettes, dispensers and burettes are listed below. These are in conformance to the ISO 8655 standard.
| Piston Operated Volumetric Instrument | Volume Range | Accuracy | CV | ||
| Relative Value | Absolute Value | Relative Value | Absolute Value | ||
| Single Channel Variable Volume Micropipette | 0.2-2 µl | ±2% | ±0.04 µl | ±1.2% | ±0.024 µl |
| 0.5-10 µl | ±1% | ±0.1 µl | ±0.5% | ±0.05 µl | |
| 2-20 µl | ±0.8% | ±0.16 µl | ±0.4% | ±0.08 µl | |
| 5-50 µl | ±0.8% | ±0.4 µl | ±0.4% | ±0.2 µl | |
| 10-100 µl | ±0.6% | ±0.6 µl | ±0.2% | ±0.2 µl | |
| 20-200 µl | ±0.6% | ±1.2 µl | ±0.2% | ±0.4 µl | |
| 100-1000 µl | ±0.6% | ±6 µl | ±0.2% | ±2 µl | |
| 500-5000 µl | ±0.6% | ±30 µl | ±0.2% | ±10 µl | |
| 1000-10000 µl | ±0.6% | ±60 µl | ±0.2% | ±20 µl | |
| Variable Volume Single Stroke Dispenser | 0.25-2.5 ml | ±0.6% | ±0.015 ml | ±0.2% | ±0.005 ml |
| 0.5-5 ml | ±0.6% | ±0.03 ml | ±0.2% | ±0.01 ml | |
| 1-10 ml | ±0.6% | ±0.06 ml | ±0.2% | ±0.02 ml | |
| 2.5-30 ml | ±0.6% | ±0.18 ml | ±0.2% | ±0.06 ml | |
| 5-60 ml | ±0.6% | ±0.36 ml | ±0.2% | ±0.12 ml | |
| 10-100 ml | ±0.6% | ±0.60 ml | ±0.2% | ±0.20 ml | |
| Burette | 10 ml | ±0.10% | ±0.010 ml | ±0.050% | ±0.005 ml |
| 25 ml | ±0.07% | ±0.018 ml | ±0.024% | ±0.006 ml | |
| 50 ml | ±0.05% | ±0.025 ml | ±0.020% | ±0.010 ml | |
Calibration: A Top Priority at Microlit
We offer world-class, high precision liquid handling instruments for researchers, students and practically everyone from the scientific community looking to conduct fuss-free experiments with zero-error readings. To make sure that we do so consistently and without fail, we comply with ISO 17025 and ISO 8655 standards, each of which takes care of a particular quality trait of the instrument and meets the necessary regulatory & statutory requirements.
Our calibration labs in India are certified under ISO 17025 by the National Accreditation Board for Testing & Calibration Laboratories (NABL), an accreditation institution established particularly for the labs operating in India. Every instrument manufactured by Microlit is calibrated as per the ISO 8655 standards of accuracy and precision.
If you need to get your liquid handling products re-calibrated or repaired, please write to support@microlit.com.

