Taking Care of Liquid Handling Instruments When Not in Use For Long
- April 10, 2020
- ENQUIRE NOW

To keep your lab up and running, it is crucial to invest in quality and robust liquid handling instruments. Liquid handling instruments, automated or otherwise, reap accurate results during an experiment. These instruments help carry out critical tasks ranging from the discovery of drugs, adding enzymes to an assay plate and so on. Labs, the world over, use such instruments almost every day, working with the minutest reagent volumes, and assisting in accurately detecting diseases, preparing their vaccines, detecting chemicals, etc.
Like other lab instruments, liquid handling instruments can be put away for a long time when not in use. When not used for a long time, an instrument may exhibit error due to reagent or dust deposits. To completely rule out that possibility, here are a few useful steps on how you can maintain, store and troubleshoot your own liquid handling instruments to ensure efficient and error-free performance.
Product Maintenance
- Cleaning
The most essential step for good maintenance of liquid handling instruments is cleaning. Skipping this step may result in inaccurate results due to residue deposit and/or the presence of other contaminants. So, clean your instruments and at the same time, keep in mind that the cleaning agent or tool you use doesn’t leave behind any residue; not even the microscopic fibres of a paper towel.Liquid handling instruments from Microlit are easy to maintain as the innovative Springless ValveTM technology in Bottle Top Dispensers and E-burettes prevents corrosion and residue formation. If needed, you may clean your instruments internally by running them twice in distilled water, especially after long term storage. The external body can then be cleaned with an alcohol
swab.As for the maintenance of micropipettes, special attention should be paid to the tip cone and the whole external body should be cleaned with solvents containing 70% ethanol. - Disassembling & assembling
After disassembling the instrument for cleaning, it is crucial to assemble it in the correct manner to ensure proper functioning. Luckily, Microlit instruments do not need to be disassembled frequently for cleaning, thereby making your life easy.
However, you should still be aware of how to disassemble and assemble a micropipette and a bottle top dispenser.
- Calibration
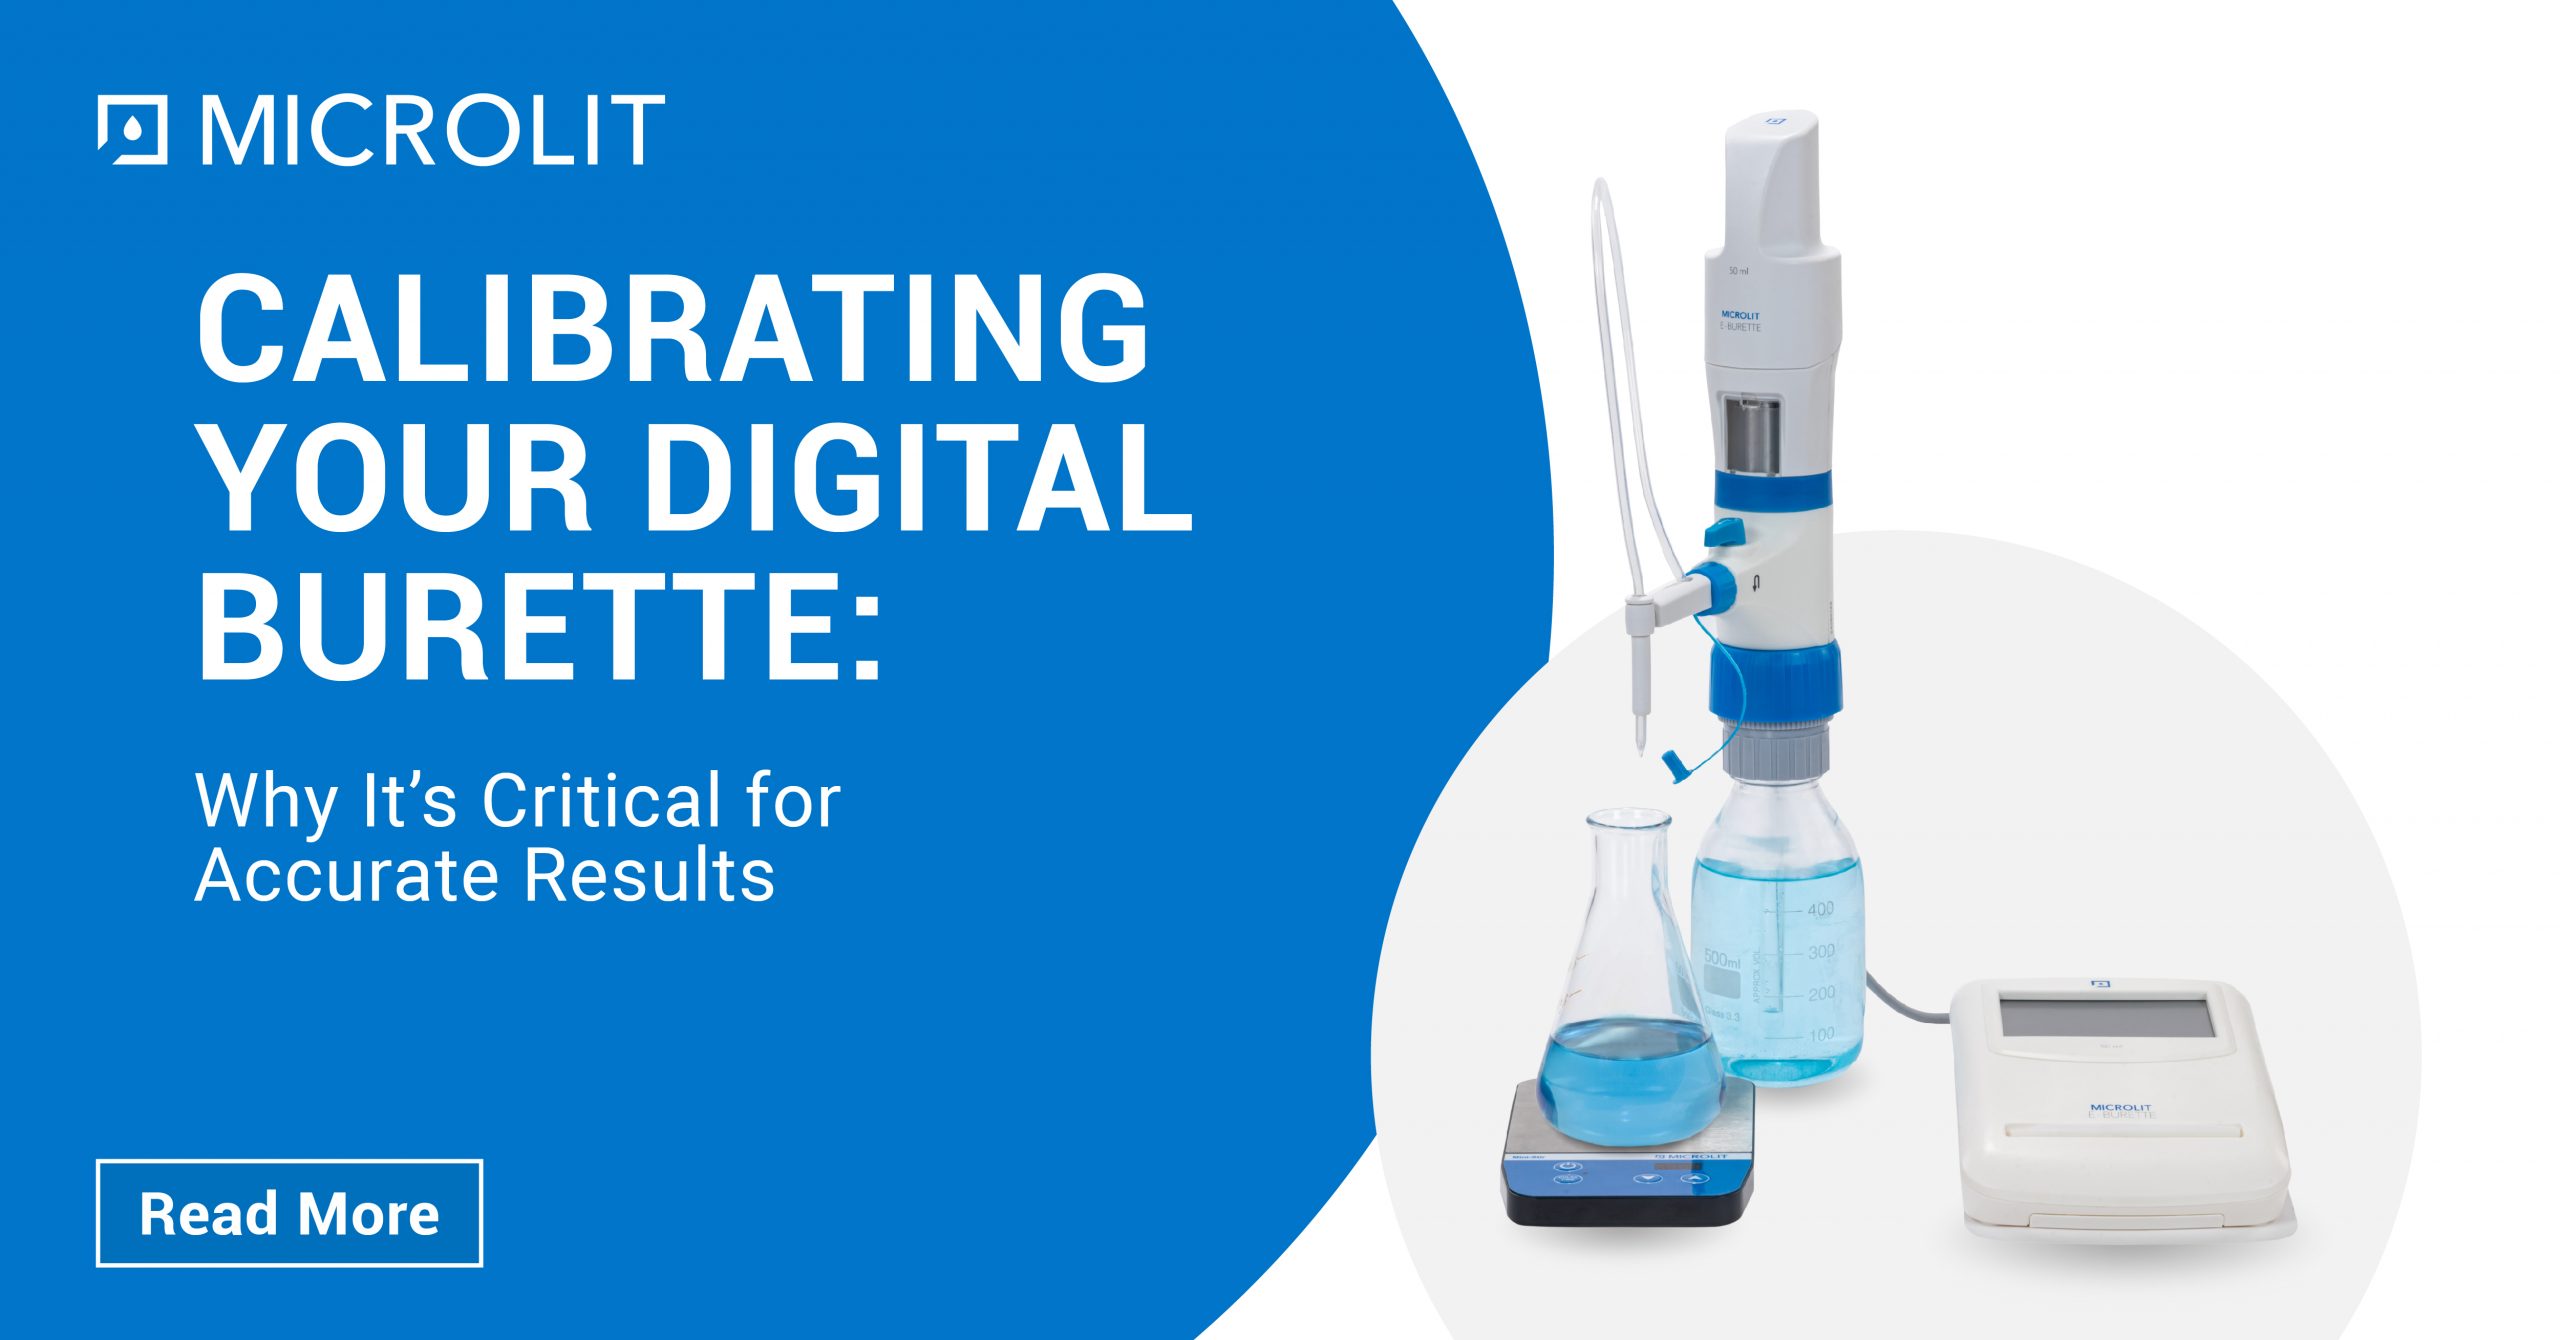
Instruments, when kept aside for a long duration, may develop errors. This necessitates for them to be calibrated periodically. Since liquid handling instruments are calibrated using different methods, it is crucial to keep a check on how you are calibrating your instrument.
As for the liquid handling instruments by Microlit, when stored for a long duration, do not need to be calibrated. Yet, it is a good lab practice to calibrate your instruments periodically.
Here is a video of how a Microlit Bottle Top Dispenser is calibrated.
Product Storage
Storage of liquid handling instruments is just as important as cleaning and calibrating them. All the instruments and their accessories should be stored in a clean, cool and dry place. The storage place should have a temperature ranging from -20 °C to 50 °C (from -4 °F to 120 °F) with relative humidity between 5% and 95%. Another point to be remembered is that the instrument should be stored in an upright position. To store pipettes, Microlit recommends the use of its carousel stand, Microlit Faveo.
Troubleshooting
While operating an instrument, a user might face a common issue that s/he might not be aware of. In such instances, it is crucial to analyse the issue and take corrective measures. The troubleshooting measures for all instruments like pipettes, electronic burettes and bottle top dispensers, as given below, are different and should be followed to the dot.
Shown below: Troubleshooting in Microlit Bottle Top Dispensers
>
| Problem | Possible Cause | Solution |
| Piston difficult to move | Formation of crystals or deposition of dirt | Stop dispensing immediately. Loosen the piston with a circular motion, but do not disassemble. Follow all cleaning instructions. |
| Air bubbles appear in the instrument | Reagent with high vapour pressure has been drawn in too quickly
The instrument has not been primed Filling tube is loose or damaged Liquid reservoir is empty The filling action is too fast The piston is leaking The discharge valve is leaking |
Draw the reagent slowly
Prime the instrument Push the filling tube on firmly. If necessary, cut off approx. 1 cm of the tube at the upper end and then reconnect it or replace it. Refill reservoir and prime the unit Fill and dispense slowly Clean the piston. If the problem persists, replace it. Clean by flushing thoroughly with distilled water |
| Dispensing is not possible | Dispensing nozzle is blocked
Discharge valve is stuck Recirculation knob is rotated in the wrong direction and the knob has popped out |
Disassemble the dispensing nozzle and flush thoroughly with distilled water
Clean the unit by immersing valve assembly in distilled water Set the recirculation knob in the dispense mode and press the knob firmly to ensure it is tightly fitted |
| Wrong dispensing volume | The volume adjustment knob is not properly locked
The instrument is not calibrated Crack in the cylinder barrel due to an accident can cause leakage |
Properly lock the volume adjustment knob
Follow user calibration steps Do not try to repair. Contact the nearest dealer or manufacturer. |
| Barrel does not fill with liquid | Inlet tube is not fitted properly | Check the quantity of liquid in the reagent bottle and ensure that the inlet tube is completely dipped in the liquid. |
| Filling not possible | Adjust volume to minimum setting | Set to the required volume |
Shown below: Troubleshooting in Microlit E-Burette
| Problem | Possible Cause | Solution |
| Piston difficult to move | Formation of crystals or deposition of dirt | Perform a cleaning cycle |
| Filling not possible | Filling valve stuck | Clean the filling valve. If the valve ball is stuck, use a 200 ml plastic tip to loosen it. |
| Air bubbles in the instrument | Purging not complete
Filling tube loose or damaged Filling tube does not dip into the liquid |
Purge the instrument again
Fasten the telescopic filling tube firmly. If necessary, cut the tube off by approx. 1 cm from the top or replace it. Fill up the bottle, or correctly adjust the length of the telescopic filling tube |
| The volume delivered is smaller than that indicated | The instrument has not been completely primed | Prime the instrument again |
| The instrument doesn’t indicate any function | Internal error | Perform a restart |
Shown below: Troubleshooting in Microlit RBO Series Micropipettes
| Problem | Possible Cause | Solution |
| Liquid is leaking from pipette tip | Pipette tip does not fit properly onto the tip cone
Liquid being pipetted is hot or cold or very dense or viscous. Tip is not loaded to maintain the seal |
Use the appropriate tip for exact tip fitment
Shorten the amount of time the liquid is in the tip or use the reverse mode of pipetting Press on the tip more firmly (avoid using too much force and over inserting the tip) |
| Amount of sample delivered is not accurate | Pipette is not within calibration specifications
Improper pipetting technique |
Re-calibrate the pipette as per the Operation Manual
See suggestions for improving pipetting technique and results in the Operation Manual |
Liquid handling instruments play an important role in research and tests. So, make sure that they are always in good condition. Quality assurance of the instrument assures the quality of the test. Put in place a robust quality assurance programme to keep the tests accurate and cost-effective. Even the slightest error in the instrument can lead to the whole test going south resulting in huge costs for your lab, wastage of reagents and even proving fatal for researchers.
If you have any technical query or questions related to product information & maintenance, send us an email on support@microlit.com.

